Nest Box Management

Okay, so these baby chicks have grown up and you are starting to get eggs, possibly lots of eggs.  You now have to think about the comfort and cleanliness of your nest boxes. How do you manage them and encourage the ladies (hens) to lay in the right spot and in a clean environment?

What Do The Hens Need?

    • Hens like a dark place to lay their eggs: private, dark, preferably quiet. I put a cardboard liner at the bottom of the nesting box, minimum, preferably cardboard sides too. If you are finding eggs random places in the chicken yard or coop, privacy/darkness or access to a nesting box is probably the issue.
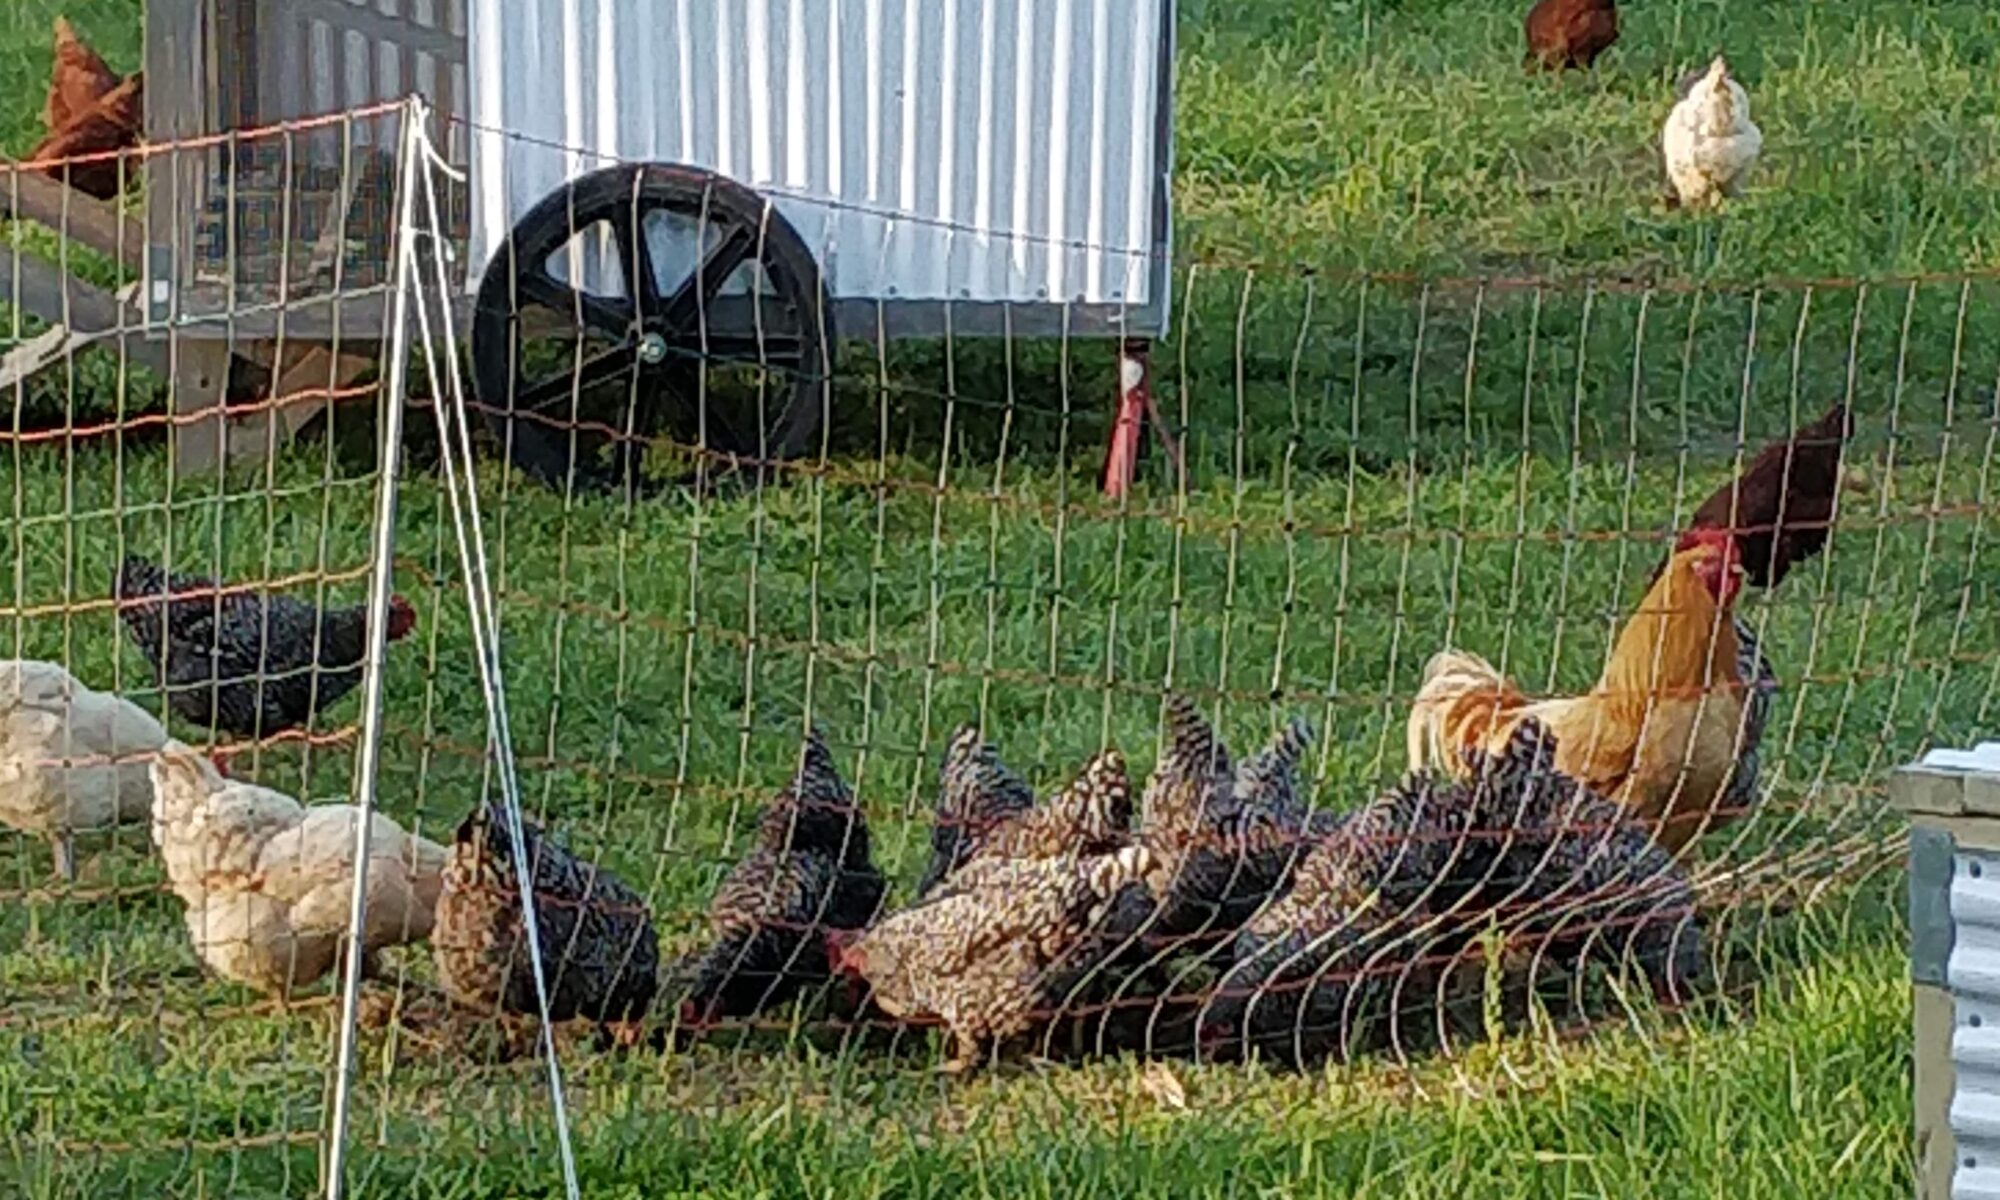
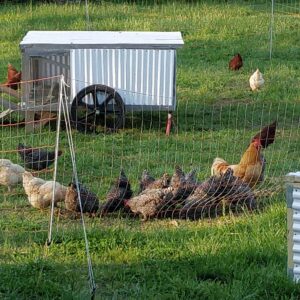
    •  I’ve heard ratios like one nest box to 5-10 hens.  Our setup is 1 nest box to 8 chickens. We have four modified milk crate egg boxes in our ChickShaw for our 30-odd chickens
    • I either replace nesting material or add some every 3-4 days.  More often if you see droppings in the nest box. Just pinch some grass to pull out the chicken poo and toss it on the ground. We try to collect the eggs everyday late afternoon between 4-5pm and take a quick look at the nest box material and cleanliness.

Nesting Material

What kind of nesting material should you use?  What do you have on hand?

We have used wood shavings (the kind you buy in a big compression bag), old hay, plain cardboard, and grass clippings.

My favorite of all of these is grass clippings.  The wood shavings were too small and airy and too easy for the chickens to scrape out of the nesting box.  Hay works pretty good, except I don’t have it on hand consistently.  Grass clippings are everywhere in our yard.  I have a yard sweeper, so gathering grass clippings is no problem.  Or I could use a leaf rake to gather enough for the nesting boxes from a recent mowing.

I fill the nest boxes about 2/3 to 3/4 full of nesting material.  The chickens will form it into a nest and push the material out and shape the space to be comfortable for them.

We do not use roll-away egg boxes (even though I have been tempted at times) because of the influence of Joel Salatin and his book The Marvelous Pigness of Pigs.


Layer Chicken Housing: ChickShaw

Once the layer chickens are ready to graduate from the brooder box, what now?

If you read my previous post, you would have seen that I recommended you order the Premier 1 Supplies for netting around the chickens, but we haven’t discussed the actual housing yet.

Chickens need a place to roost and at night is when they drop most of the fertilizer onto the surface below.  So the ideal house would provide:

    1. roosting poles (about 1ft width per chicken)
    2.  a clear path to the ground for the droppings to fertilize below
    3. mobile so the fertilizer can be spread around
    4. shelter for the birds from the sun
    5. dark nesting boxes for hen privacy (1 box per 10 hens minimum)
    6. easy to move by hand
    7. good defenses against predators

We have used several different houses for our layer chickens, but the one I like the best is the ChickShaw from Justin Rhodes at Abundant Permaculture.  He has free plans for two sizes of ChickShaw.

Plans are available here: https://abundantpermaculture.com/Mobile-chicken-coop/

Now before you get all excited about this excellent house and plans…you have to build it yourself.  We had a good time building ours over Christmas break in 2019, but it took about two weeks.  (Did y’all hear that…2 weeks!)

It is a big job, but at the same time we had some quality family time working on it.

I recommend downloading the plans and reading them entirely before cutting any wood or even buying any wood.

Some things to look out for in the ChickShaw 2.0 plans – Justin has you cutting 2x4x8’s the long way into 2x2x8s, which you need a table saw to do.  So if you have a table saw, go for it, if not, buy 2x2x8 for some of the lumber.  (Refer to above where I recommend reading the plans entirely first.)

Also, wow, this is not going to be a cheap chicken house.  In 2019 this was north of $800 dollars in materials alone.  I’d expect this is probably closer to the $1000 mark now if you choose to use Cedar wood.  Treated lumber will be a bit cheaper.

Also Justin is working on the ChickShaw 3.0 plans, which from what I can tell the main difference is incorporating a towing option instead of a manual move process.  Personally, I like moving it by hand, but loaded with 40 chickens it is pretty heavy.

Okay, so you’ve made the investment, you have all the materials, and you are building this thing…great!!!  What do you do when the chickens are ready to graduate from the brooder box?

Evaluate if your chickens will be able to sneak through your Premier 1 poultry netting…and if not:

I would put them out in the ChickShaw (locked in it) for 24 hours or so, to instruct them where they live.  (Only if it is going to be above 75 degrees and below 100 degrees.)

Next morning, open the door and let them out within the fencing.  Throw some feed on the ground (if you are going to use feed versus grass/bugs/”free-range” only.)  Have a good water supply for them and turn on the energizer until dusk.

I like to collect eggs in the late afternoon before dinner…depending on the age of your chickens that is…most chickens won’t start laying for 3-6 months.

When it is dusk, they should know where to go – back into the house to the roosting poles.  If they roost up near the nesting boxes – shoo them off and close the nesting box frame.  Finally close the main front door of the ChickShaw and they are put to bed.  Come morning open the front door and open the nesting box frame.