Twenty Chickens Migrate to the Freezer
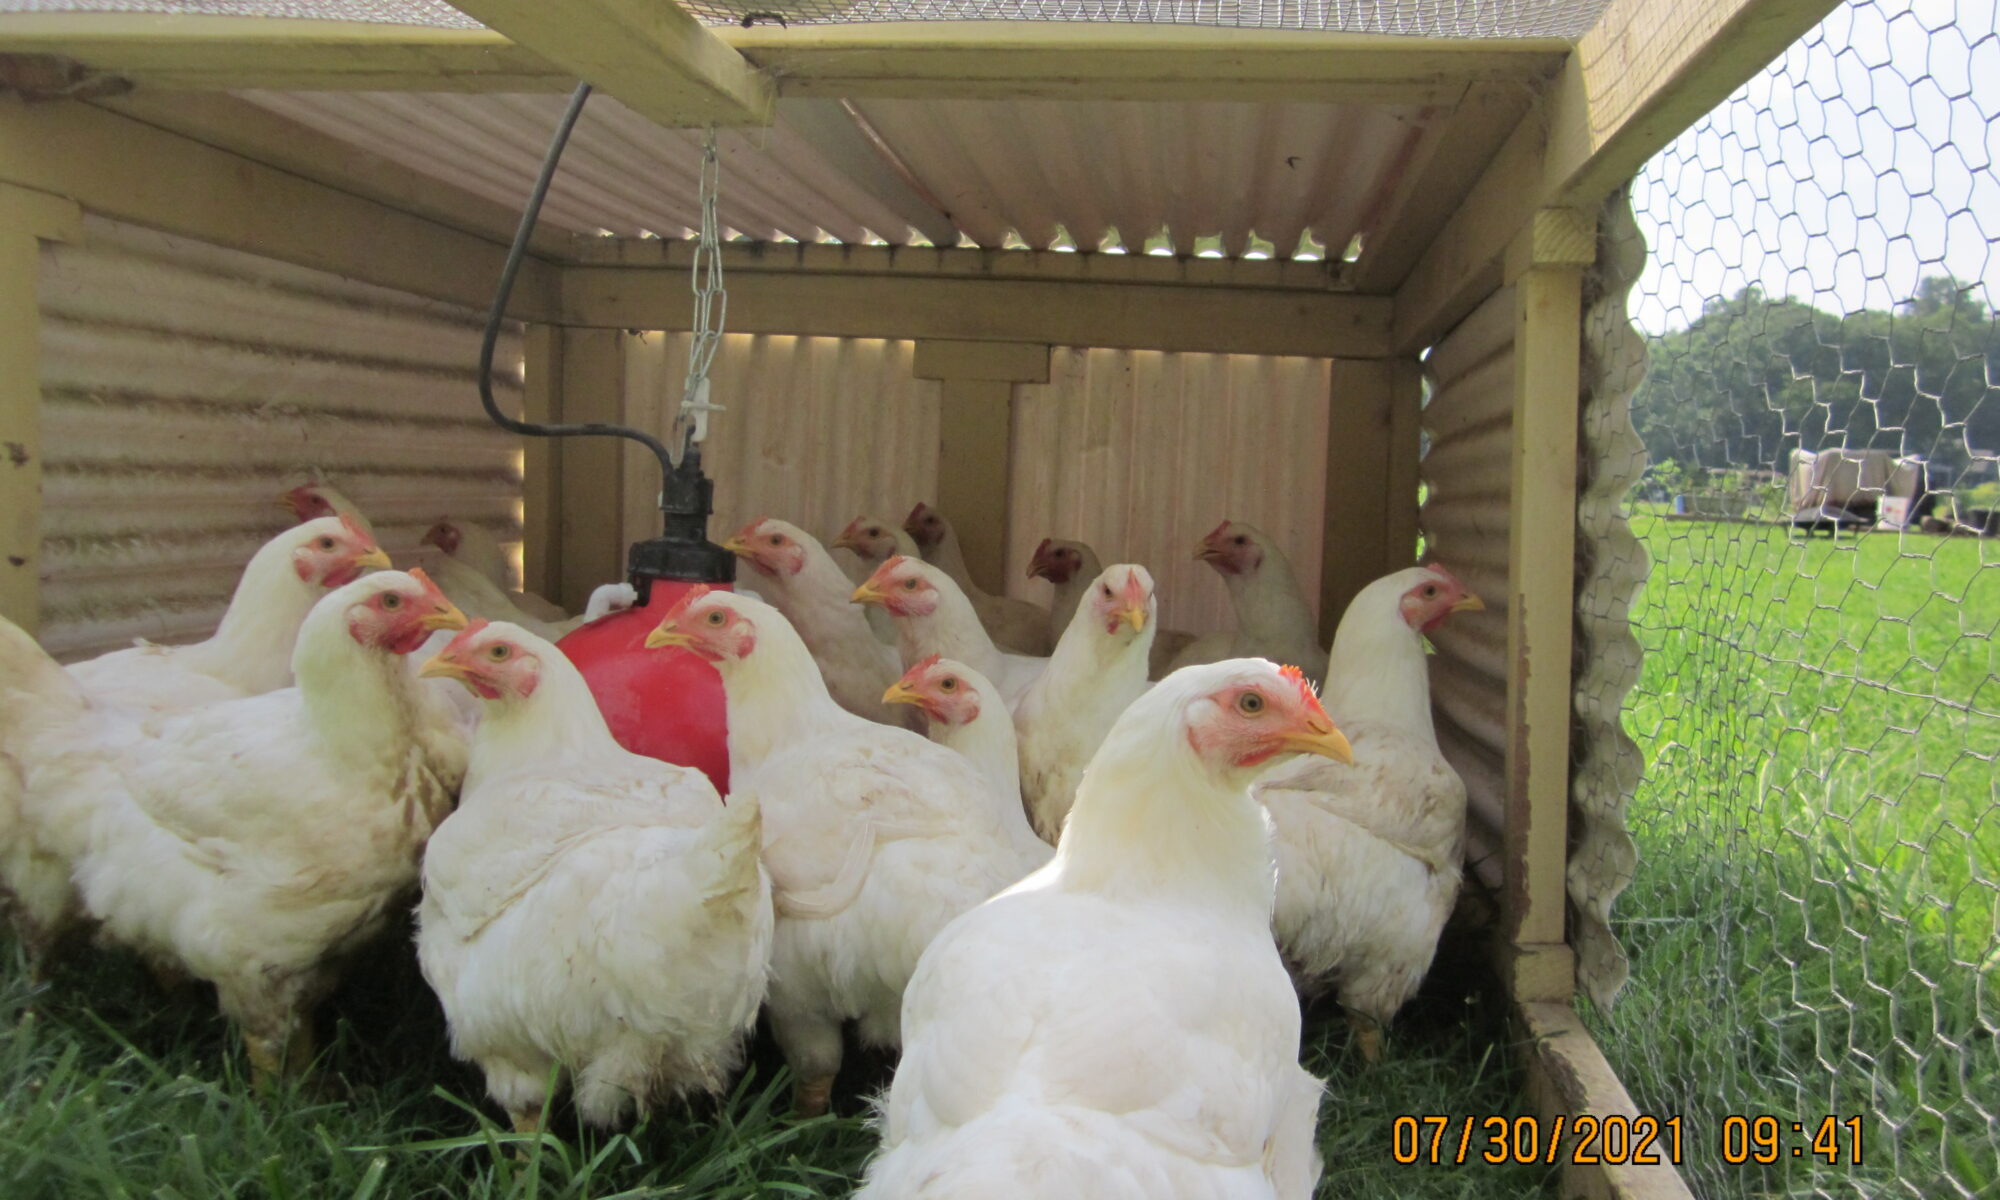
We have been growing our 20 broiler chickens for about 12 weeks. Butchering day is finally here! Soon 20 juicy chickens will be ready to eat. We’re making butchering day into a party. We invited all our homestead-lovin’ friends over to do the honors with us. The first two chickens go straight to the crockpot for dinner.
You can do this!
So, lets get down to business. You can do this too! You just need a few fat chickens, the growing/fattening instructions in our broiler growing chicken booklet (found at the store on the menu bar above) and this post! It will take some commitment, some time and some supplies, but we’re here to help you make it as easy as possible. Here are the steps:
1 Get your chickens and grow them for 8-12 weeks until they’re really fat.
Butchering Day
2 Set up your butchering day site and invite others who want to help. A butchering supply list is in the booklet. Start heating up the water in the scalder.
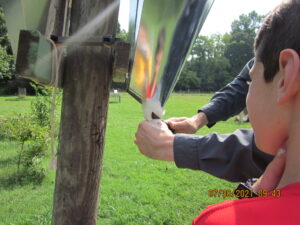
3 Grab your first chicken. The butchering process has officially begun! Put it in the restraining cone head first and sharpen your knife one last time. Pull the chicken’s head down through the hole and slit the chicken’s neck on the side, just above where you feel the jawbone. Please kill it on the first try. Please. Let all the blood drain out.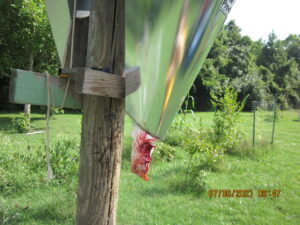
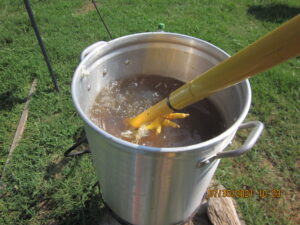
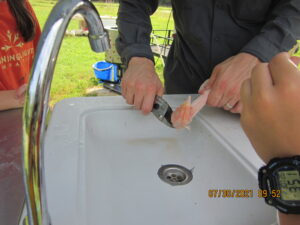
4 Put the fully dead, drained, and still chicken in the scalder. If it does not meet all the criteria, make it so it does. Once it’s in the scalder, stir it around for 30 seconds to a minute and immediately remove to a bucket of cold water.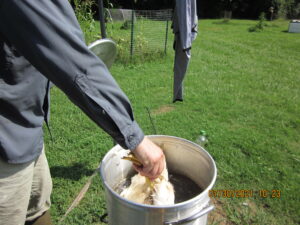
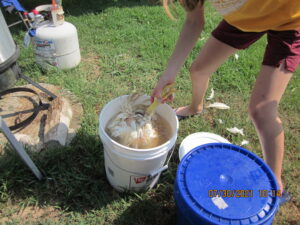
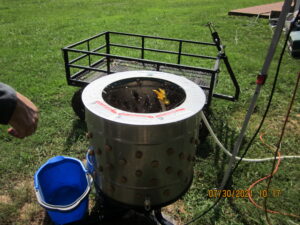
5 Pluck it. If you have a plucker, you shave off 15 minutes of time per bird. If you don’t have one, simply do it however you can. Soon, you’ll trade the car for a plucker. (At least, in our experience). Plucking, by the way means pulling the feathers off.
Eviscerating your Chicken
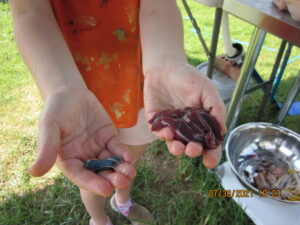
6 Eviscerate it. This means pulling the guts out and is the hardest part. You have to make the decision about which guts and innards you keep and which you throw away. We keep the legs, liver, gizzard and heart.
-
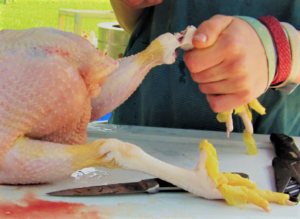
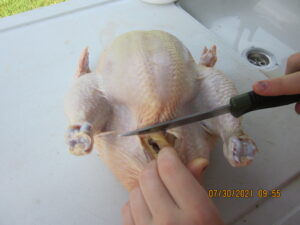
- Cut off the legs at the joint. The joint is right in the middle of the knee.
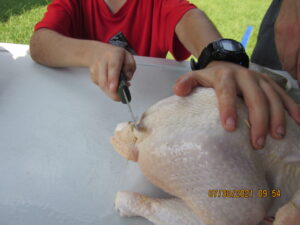
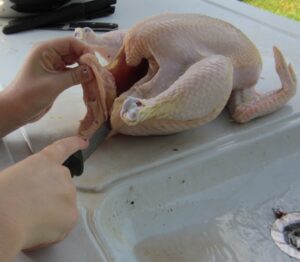
- Next, cut off the head with the pruning shears. Then cut off the neck. Your chicken is starting to look like a store-bought chicken!
- Cut off the oil gland sac. It is on the top of the tail. Starting at the middle of the tail, lay your knife parallel to the tail and cut in and up. You should see some yellow goo, which is the oil.
- Cut a slit on the backside. Be very careful not to cut into the guts. Pull the top and bottom of the chicken apart and insert your hand into the cavity. Reach as far back as possible, get a firm hold and pull all the guts out.
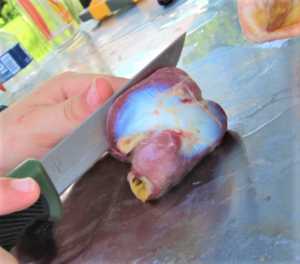
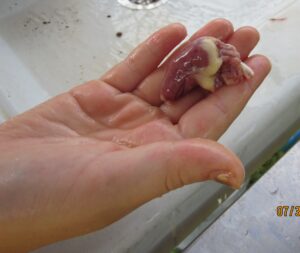
- Detach the gizzard. It is oval shaped, mostly red with a little blue and closest to the front of the bird. Cut a slit in the side, long ways, and flip it inside out. Rinse out all the grass and stones. Then, peel the yellow lining away and discard it.
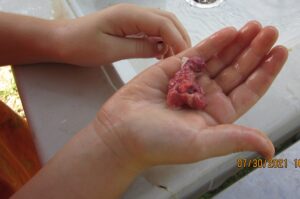
- Detach the liver. It is flat, relatively large and dark red. Try not to break the green sac that is attached. Tall order, right? Yep. Even Hannah, our master eviscerator breaks the sac most of the time. Most of the time.
- If you haven’t already got the heart, get it. It is an upside-down triangle in red.
- Discard the rest of the guts
- Reach inside the chicken and scrap out the lungs. They are bright red-pink and white.
- Cut down both sides of the tail to remove it.
- Finally, give it one last rinse (you’ve probably rinsed it at least ten times already; trust me, it’s a thing,) and toss it in your cooler.
7 Do it again on every one of your chickens and when you’re done, celebrate! You can do it! See? I told you.
Views: 168
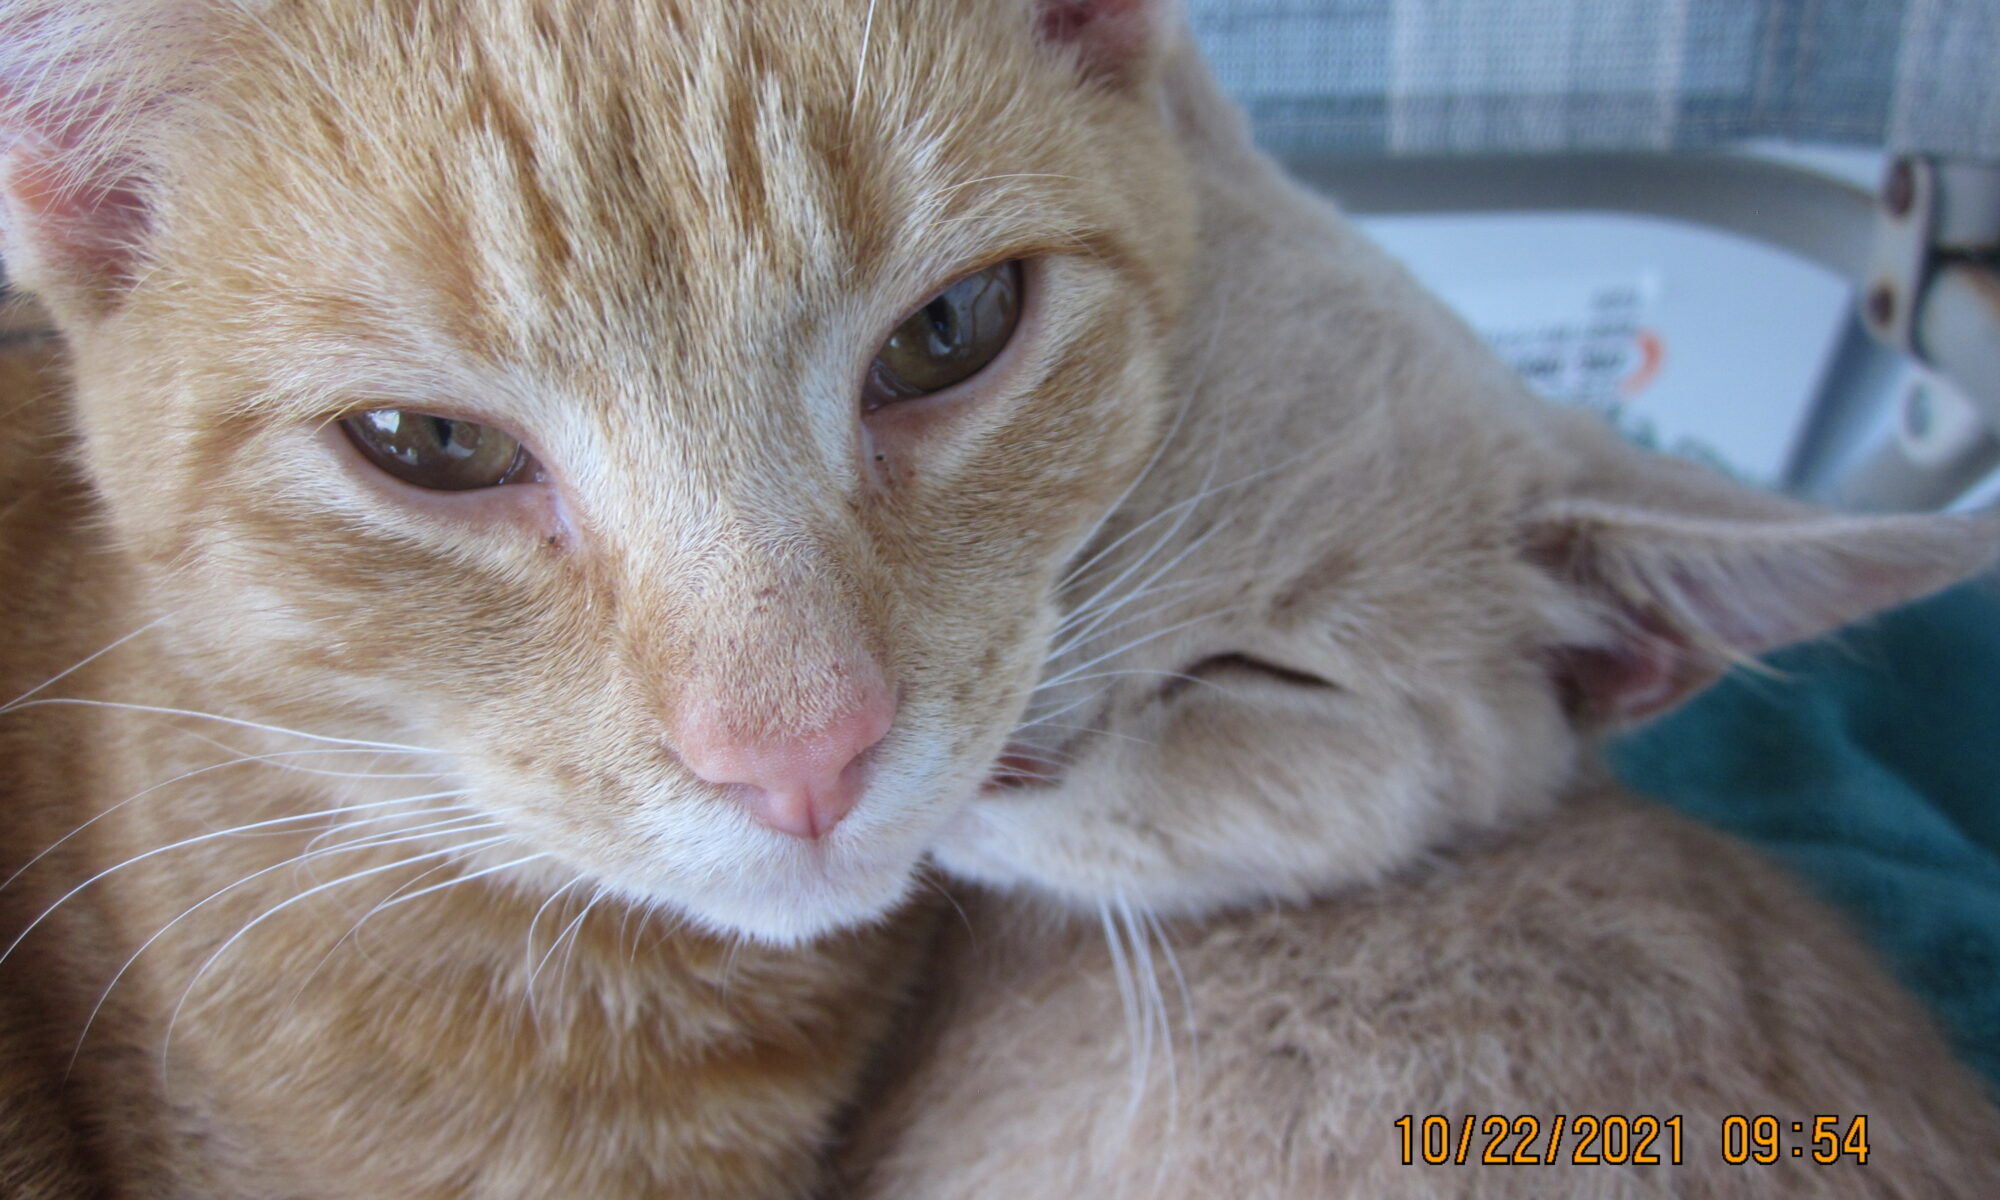

 He is the more cuddly of the two, will climb onto my lap, and comes as soon as you open the door! He is a bit chubby and eats most of the food that we give them. He is very lovable and will always welcome you to the porch with a big purr.